1 總則本方案適用于調節閥的檢修方案。
This plan is applicable to the maintenance plan of regulating valves.
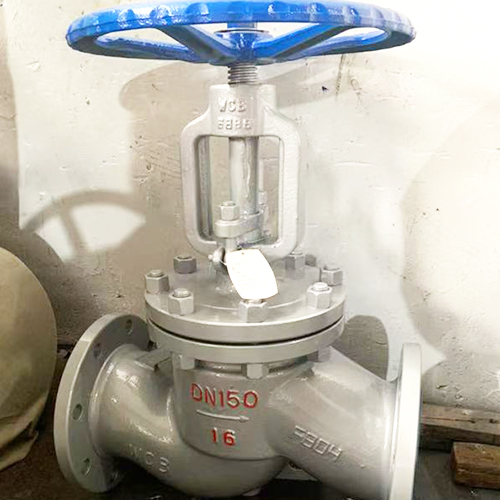
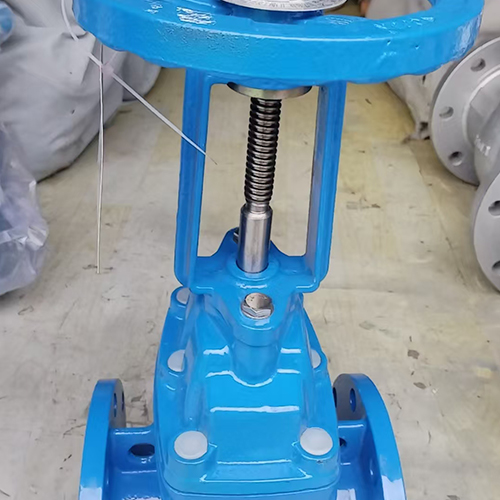
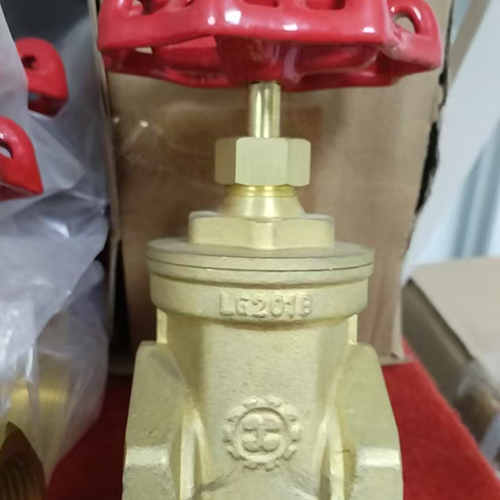
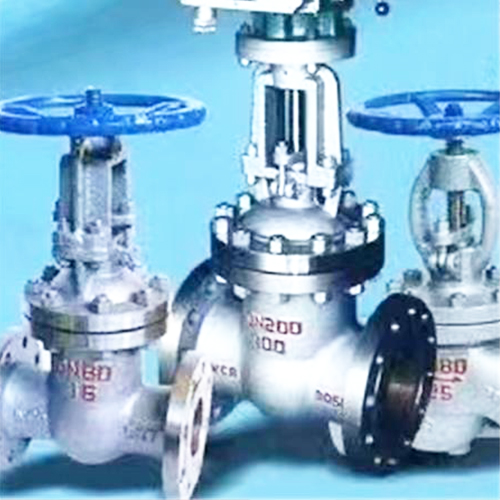
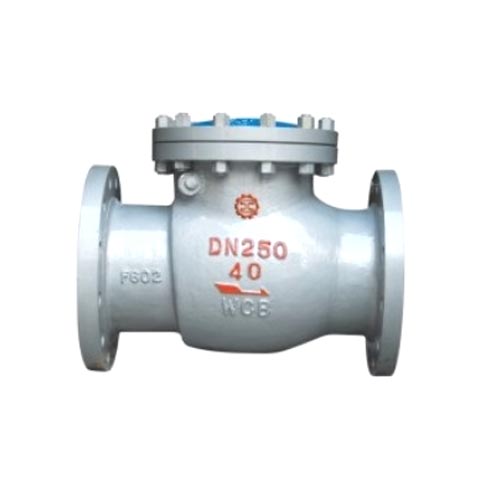
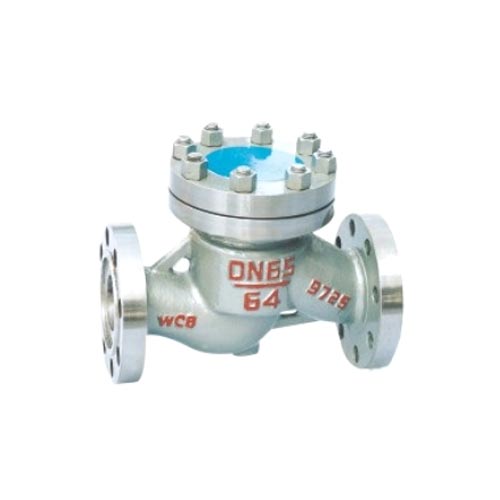
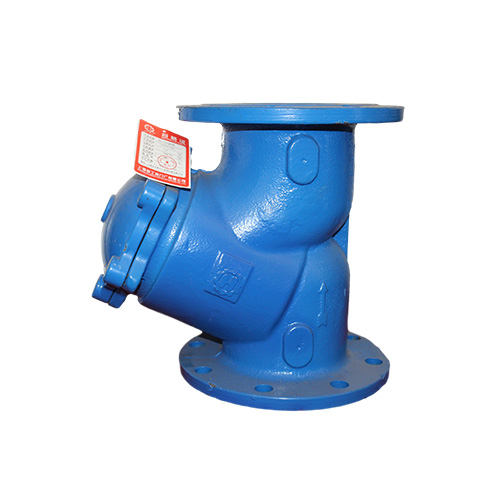
2 閥的結構特點2.1 閥的結構該調節閥由氣動薄膜執行機構和直通單座閥兩部分組成。主要包括膜片,膜室,支架,閥芯閥座,上閥蓋,單座型的閥體,連接件,定位器等組成。2.2 閥的特點;閥內只有一個閥座,具有泄漏量小的優點,但不平衡力較大,所以閥的工作壓差不易過高,適用于泄漏小,壓差不大的干凈介質場合。
The structural characteristics of the 2-valve 2.1 valve structure This regulating valve consists of a pneumatic diaphragm actuator and a straight through single seat valve. It mainly consists of diaphragm, diaphragm chamber, bracket, valve core and seat, upper valve cover, single seat valve body, connecting parts, locator, etc. 2.2 Characteristics of valves; There is only one valve seat inside the valve, which has the advantage of small leakage, but the unbalanced force is large, so the working pressure difference of the valve is not easy to be too high, suitable for clean medium occasions with small leakage and small pressure difference.
3 檢修方法及標準3.1 檢修方法3.1.1 按操作規程檢查問題,方可拆檢閥門。3.1.2 關掉氣源,拆下定位器及氣源管。3.1.3 執行機構部件檢查;打開膜室取出膜片,觀察是否有細小裂紋或橡膠與纖維層脫離,或有明顯撕裂, 如有說明膜片已老化磨損,需更換新膜片, 在上下膜頭蓋與硬芯周邊接觸的膜片部位, 如發現有裂痕和硬傷也應更換。膜頭輸出推桿密封O型圈外觀檢查是否磨損,變脆如有更換,3.1.4 密封部件檢修; 檢查填料是否磨損, 如磨損應全部清理更換,檢查金屬波紋官是否破裂,如有更換。3.1.5 閥芯閥座的檢修; 首先檢查閥芯閥座的氣蝕狀況,和有沒有明顯磨痕, 如氣蝕和磨痕深度小于 0.5mm是可用細砂紙研磨, 如氣蝕和磨痕深度大于0.5mm是應上車床光刀后在研磨。3.1.6檢查閥桿是否彎曲,如彎曲應在平臺上校直。3.1.7?閥體的檢修; 主要檢查閥體內部沖蝕,腐蝕,氣蝕,及機械損傷情況, 如嚴重需更換,里面有無焊渣,工藝填料等,如有需清理干凈。
3 Maintenance Methods and Standards 3.1 Maintenance Methods 3.1.1 Check for problems according to the operating procedures before disassembling the valve for inspection. 3.1.2 Turn off the air source, remove the locator and air source pipe. 3.1.3 Inspection of actuator components; Open the membrane chamber and remove the membrane. Observe for any small cracks, detachment of rubber from the fiber layer, or obvious tearing. If so, it indicates that the membrane has aged and worn out, and needs to be replaced with a new one. If cracks or hard damage are found in the membrane area where the upper and lower membrane covers are in contact with the hard core, it should also be replaced. Inspect the appearance of the O-ring seal of the output push rod of the membrane head for wear and if it becomes brittle, replace it if necessary. 3.1.4 Repair the sealing components; Check if the packing is worn, and if worn, clean and replace it completely. Check if the metal bellows are broken, and replace it if necessary. 3.1.5 Maintenance of valve core and seat; Firstly, check the cavitation condition of the valve core and seat, and whether there are obvious wear marks. If the depth of cavitation and wear marks is less than 0.5mm, it can be ground with fine sandpaper. If the depth of cavitation and wear marks is greater than 0.5mm, it should be polished with a lathe knife before grinding. 3.1.6 Check if the valve stem is bent, and if it is bent, it should be straightened on the platform. 3.1.7? Maintenance of valve body; The main inspection is to examine the internal erosion, corrosion, cavitation, and mechanical damage of the valve body. If it is severe, it needs to be replaced. There should be no welding slag or process packing inside, and if so, it should be cleaned thoroughly.
4 檢修后閥門的組裝4.1 組裝前應對閥門的全部元件進行一次清理檢查,組裝順序應自上而下, 先組裝閥體部分,再組裝執行機構, 然后組裝整閥, 膜頭輸出桿應與閥桿對中后再用連接件固定。加入的墊片應涂潤滑脂,加入的填料要充實均勻.4.2 膜片與硬芯固定時螺絲帽處應加放松墊,膜片保證平整,防止串氣。4.3 所有緊固螺栓和填料裝配前都應涂上潤滑脂,利于下次檢修和潤滑。
4. Assembly of valves after maintenance 4.1 Before assembly, all components of the valve should be cleaned and inspected. The assembly sequence should be from top to bottom, with the valve body part assembled first, followed by the actuator, and then the entire valve assembled. The diaphragm output rod should be aligned with the valve stem before being fixed with connectors. The added gasket should be coated with lubricating grease, and the added filler should be filled evenly. When fixing the diaphragm to the hard core, a relaxation pad should be added at the screw cap to ensure that the diaphragm is flat and prevent air leakage. 4.3 All fastening bolts and fillers should be coated with lubricating grease before assembly to facilitate next maintenance and lubrication.
5 閥門的調校閥門組裝完畢后裝上定位器,氣源管進行調校。校準點不應少于 5 個點,0.?25% .50%. 75%. 100% 。依次緩慢地將各點信號輸入定位器,觀察行程指針與標尺刻度是否對應,否則應進行反復調整,直至達到標準。
After assembling the 5-valve calibration valve, install the locator and calibrate the air source pipe. The calibration points should not be less than 5 points, 0? 25% .50%. 75%. 100%. Slowly input the signals of each point into the locator in sequence, and observe whether the travel pointer corresponds to the scale scale. Otherwise, it should be repeatedly adjusted until it reaches the standard.
6 試壓6.1 閥門調校標準后裝到試壓機上,試壓合格后清理并油漆外觀處理。6.2 檢查檢修后的記錄檔案資料是否齊全準確。
6 Pressure Test 6.1 After adjusting the valve according to the standard, install it on the pressure testing machine. After passing the pressure test, clean and paint the appearance. 6.2 Check whether the records and archives after maintenance are complete and accurate.
7 安全注意事項7.1 維修必須由兩人以上作業。7.2 發現閥門出現異常需處理時,必須取得工藝人員認可,采取安全措施后方可作業。7.3 檢修時,必須使用專用工具,不得損壞零部件。7.4 拆卸下來的零部件及裸露出來的閥體應用軟材料蓋好及抱起來,防止丟失, 損壞及掉入異物。
7 Safety precautions 7.1 Maintenance must be carried out by two or more people. When abnormalities are found in the valve and need to be dealt with, approval from the process personnel must be obtained, and safety measures must be taken before operation can begin. 7.3 During maintenance, specialized tools must be used and parts must not be damaged. 7.4 The disassembled parts and exposed valve bodies should be covered and lifted with soft materials to prevent loss, damage, and foreign objects from falling in.
本文由 良工閥門 友情奉獻.更多有關的知識請點擊 http://kasidc.com/ 真誠的態度.為您提供為全面的服務.更多有關的知識我們將會陸續向大家奉獻.敬請期待.
This article is a friendly contribution from Gongfa Valve For more related knowledge, please click http://kasidc.com/ Sincere attitude To provide you with comprehensive services We will gradually contribute more relevant knowledge to everyone Coming soon.


 企業公告:
企業公告: